Tutorial - How to Make a Green Screen Background Video Using Pixbim Video Background Remover AI?
Pixbim Video Background Remover AI stands out by offering unlimited video background removal without any usage restrictions. You can remove the background from as many videos as you want, with no credit card needed, no monthly limits, or additional processing charges. Users can make green screen background video without any restrictions.
How to remove video background using Pixbim Video Background Remover AI?
Step-by-Step Tutorial
Step 1: Download Pixbim Video Background Remover AI
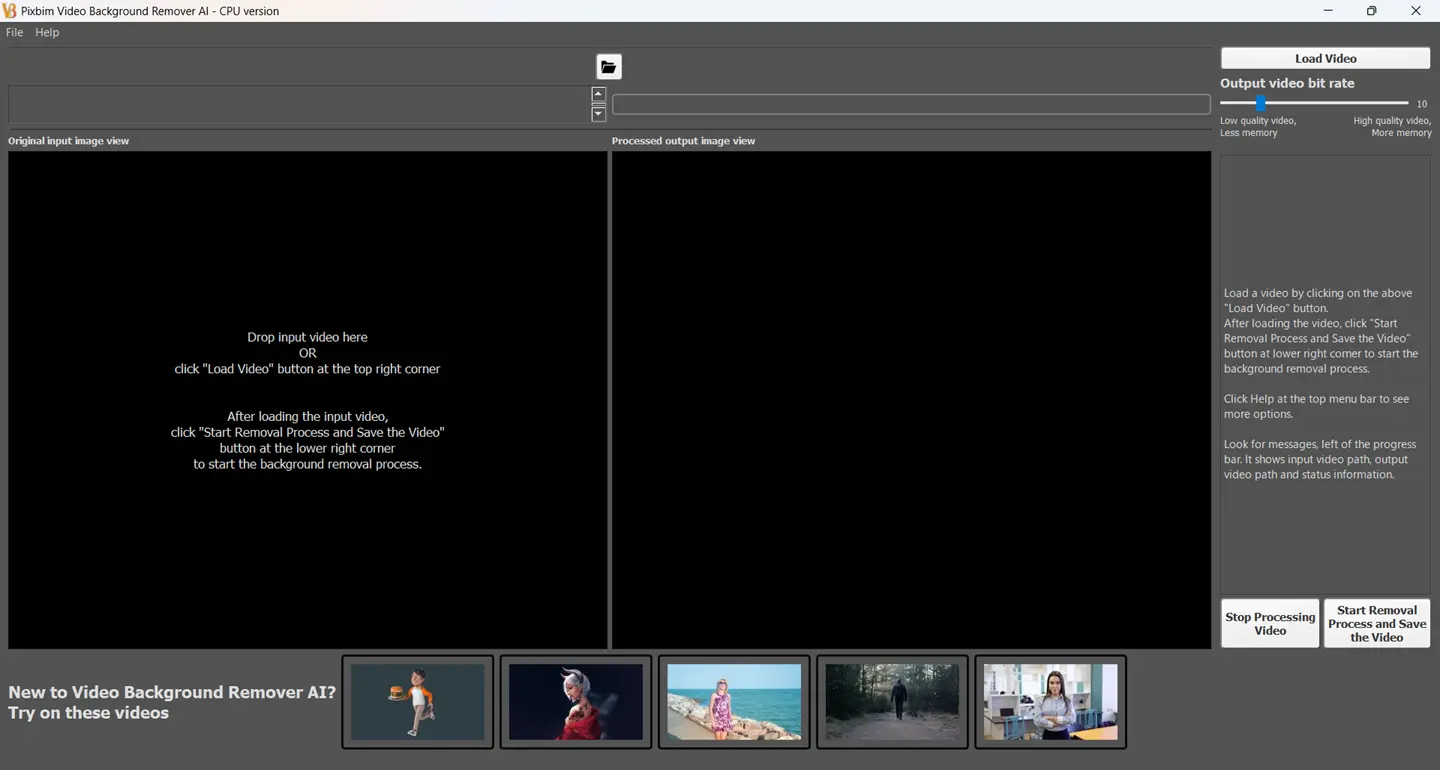
Download and install Pixbim Video Background Remover AI on your laptop or desktop computer.
Download Free Pixbim Video Background Remover AI
Step 2: Load the Input Video
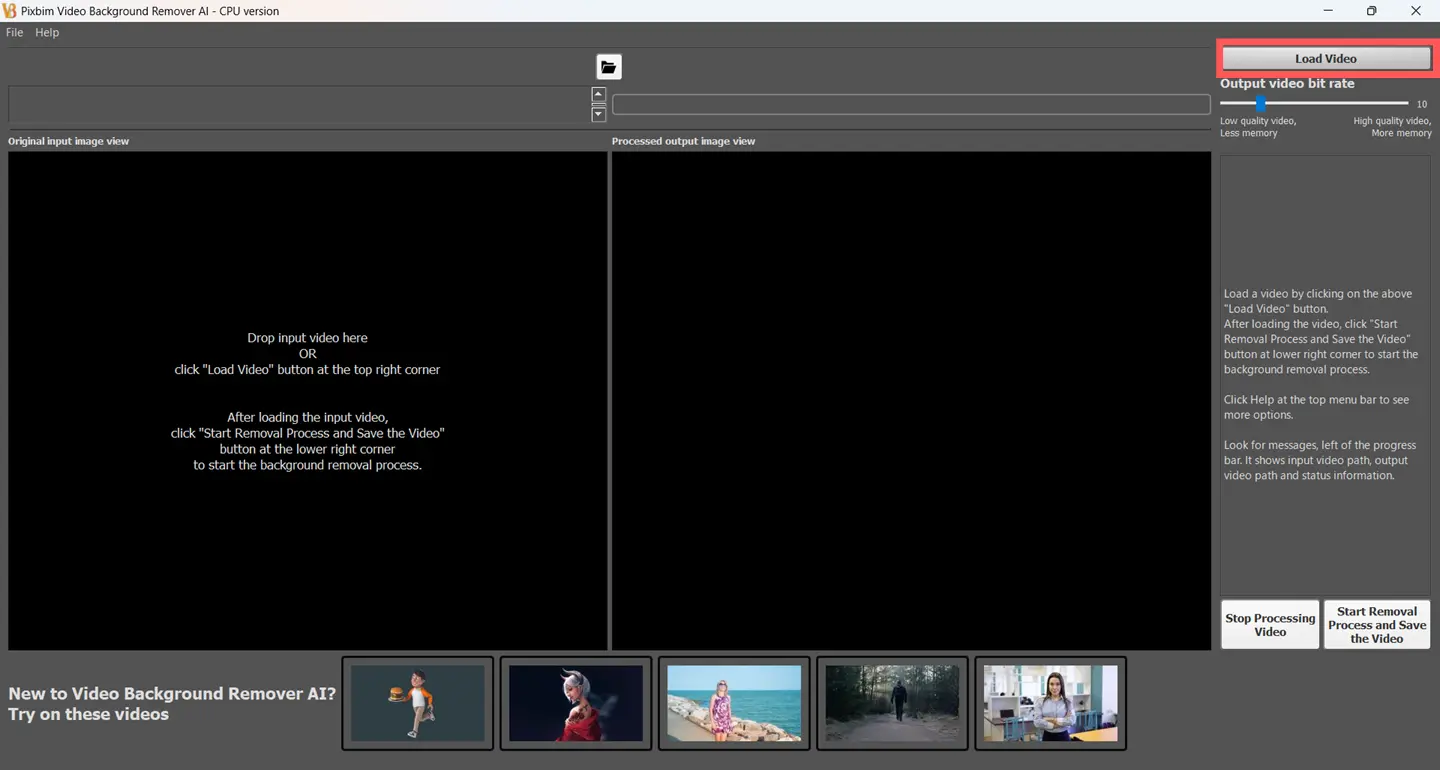
Load the input video by clicking the 'Load Video' button and select the input video from your laptop or desktop.
Step 3: (Optional) Change the Output Video Bit Rate
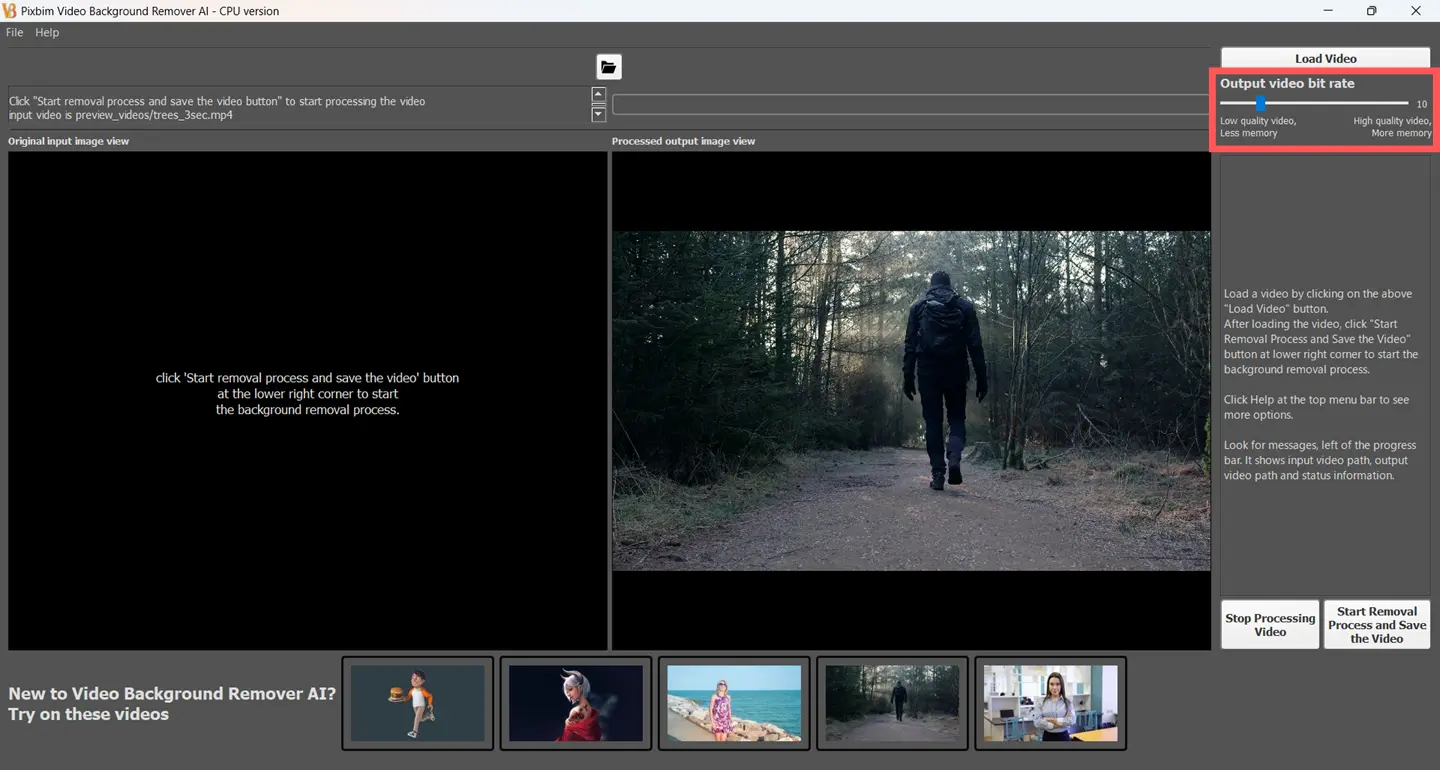
By default, the output video bit rate is set to ‘10’. You can adjust it using the ‘Output video bit rate’ slider from ‘0’ to ‘50’.The lower the value, lower the quality of the saved video, higher bit rate such as ‘50’ saves a high quality video but consumes more disk space to save the video, Default value of ‘10’ is good for most of the videos.
In general:
1. 'Lower bit rate' value produces smaller video file sizes and uses less memory, but may reduce the overall video quality. If you want to try the sample videos quickly, or if your laptop/desktop has an older configuration and you need faster output, you can leave the settings at default value and start the AI video background removal process.
2. 'Higher bit rate' saves a higher quality video, but result in larger video file size.
The default value of ‘10’ provides a good balance between quality and performance. If you require higher-quality output and do not mind larger file sizes, you can experiment with higher bit rate values to find the best result for your video.
Step 4: Start the AI Video Background Removal Process
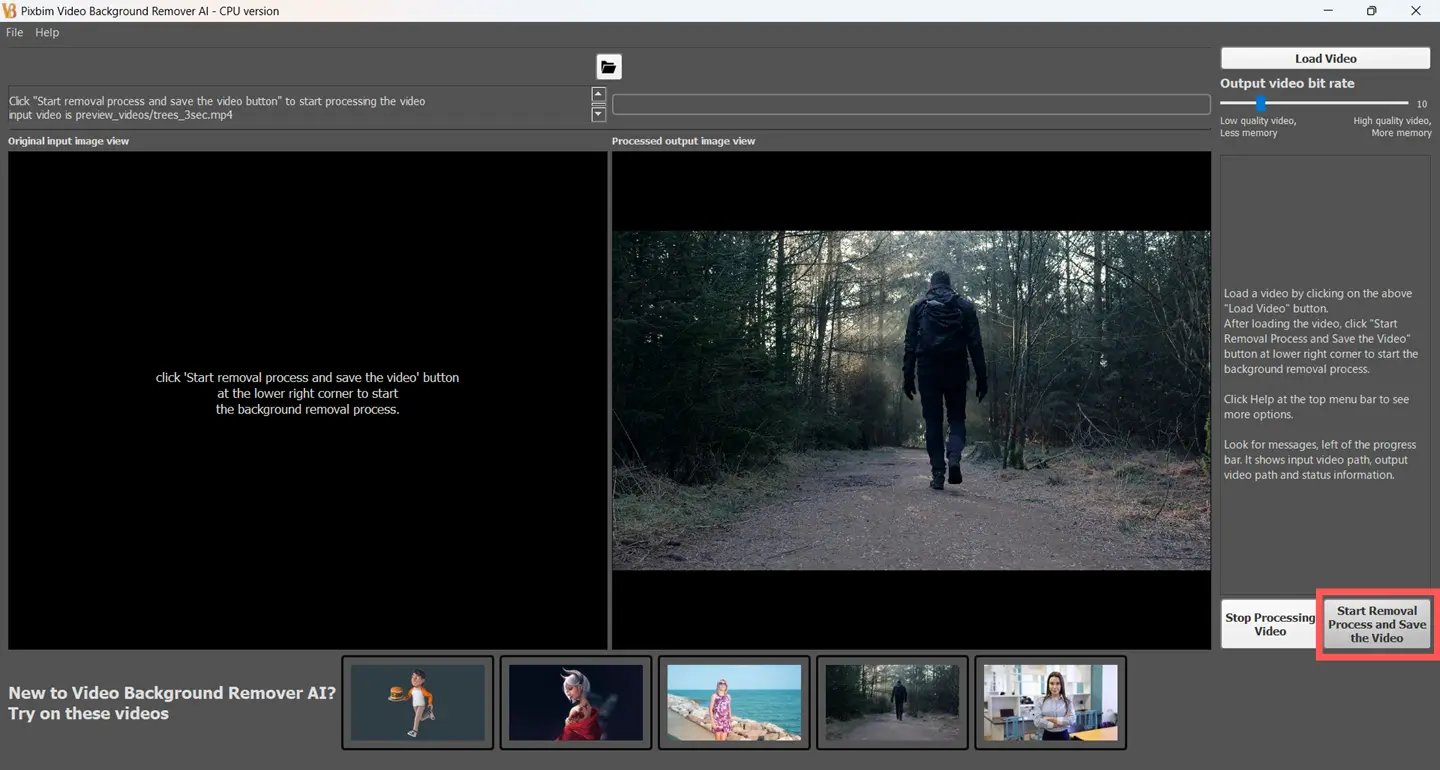
After loading the input video, start the background removal process by clicking the 'Start Removal Process and Save the Video' button. First, you will be prompted to choose where you want to save the generated output video. You can also rename the output file and select the destination folder on your laptop or desktop. Once you select the save location, the AI background removal process will begin. During processing, you can monitor the current progress using the progress bar to see how much of the video has been processed. In addition, you can view the input video frame on the left side and the background removed green frame on the right side in the software.
Step 5: Access the Output
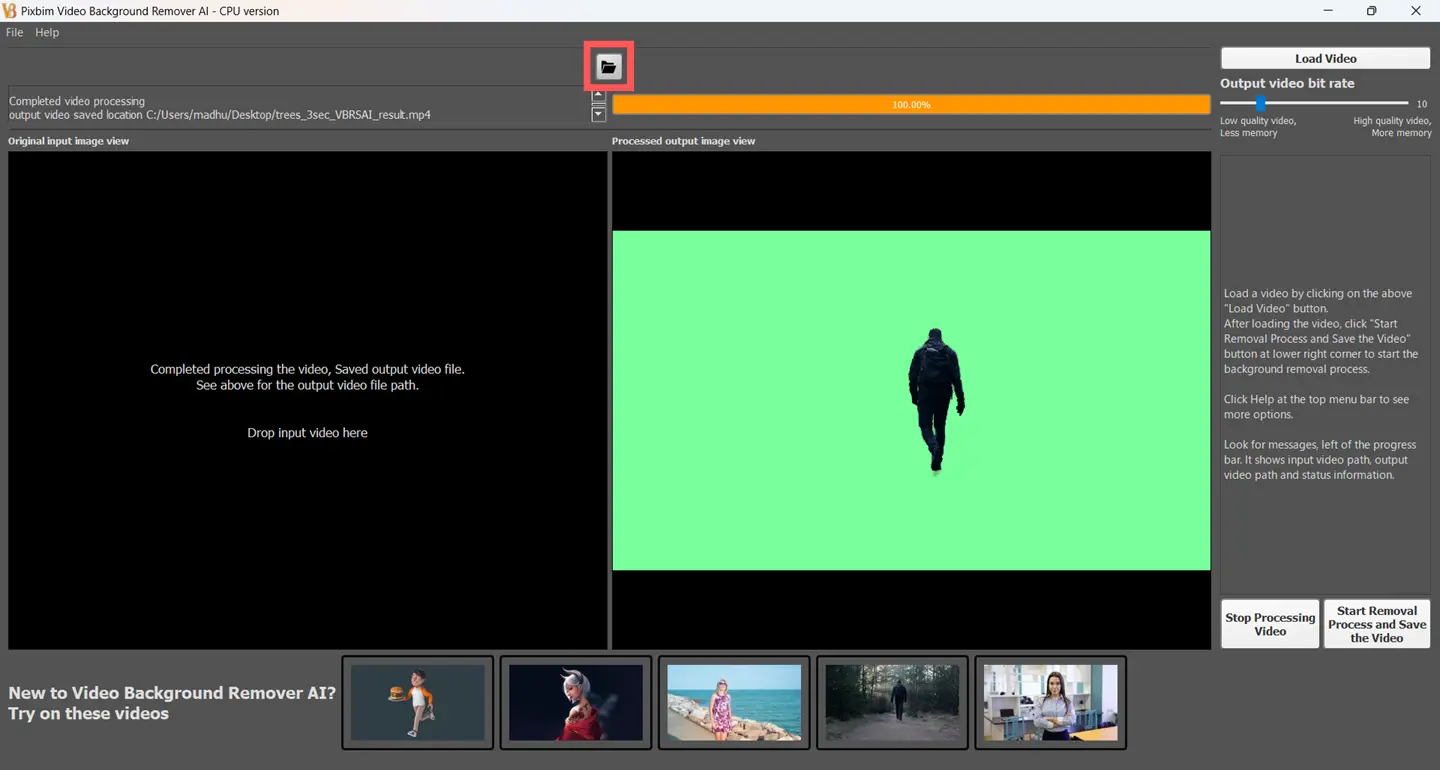
Once AI video background removal process is complete, the progress bar will reach 100%. A display message on the left-side status box will confirm that the output video has been saved successfully. You can also see the folder path displayed where the output video is saved in the location box above. To open the output folder directly, simply click the folder icon shown in the above screenshot. This will take you to the folder where your output video is saved.
There will be two output videos generated:
1. Video Output with a Green Screen Background – The background is removed and replaced with a green screen. This green screen can be easily removed and replaced with any custom background using any video editing software.
2. Matted Output – This output contains the generated matte (mask), which can be used for further editing and compositing workflows.
Unlike many other applications that impose credit-based limitations or usage restrictions, Pixbim Video Background Remover AI allows you to remove video backgrounds without any usage limits. This makes it one of the most convenient video background removal solutions available today.
How to change green background in the generated output to your desired background?
The output generated by Pixbim Video Background Remover AI will have a green background. The purpose of the green background is to preserve the video quality without any loss and provide a clean separation between the subject and the background. It is one of the most professional and widely used methods for replacing a video background.
The green background (also known as a green screen or chroma key background) can be easily removed using video editing software. Once the green screen is removed, you can replace it with any image, video, or custom background of your choice.
No professional skills or steep learning curve are required for removing background from a video. Most video editing applications provide a simple 'Green Screen' or 'Chroma Key' option that automatically detects and removes the green background. Even beginners can easily replace the background and create professional-looking videos within a few minutes using Pixbim Video Background Remover AI.
Why is Pixbim Video Background Remover AI the best app for removing video backgrounds?
1. Pixbim Video Background Remover AI is a user-friendly tool with a simple and easy-to-use interface.
2. It can work on users laptop/desktop without any issues.
3. Lifetime access.
4. Unlimited video background removal. Users can remove video backgrounds any number of times, with no restrictions on duration or the number of videos.
5. You can remove video backgrounds more accurately than with any other video background removal app.
6. No watermark and no restrictions while using our Video Background Removal App
7. Pixbim Video Background Remover AI ensures 100% user data privacy. Our app works offline, where user input videos are processed and saved on their local machines. There is no cloud storage involved.
Download Free Pixbim Video Background Remover AI
Follow us on our Official Youtube Channel and Facebook Page
More from Pixbim